
To mount a monitor, start by selecting the appropriate wall mount or stand compatible with your monitor’s size and weight. Ensure you have the right tools, locate wall studs for stability, and follow the manufacturer’s instructions for secure installation, avoiding common mistakes like misalignment or insufficient support.
Last updated: November 19, 2026
Mounting a monitor can enhance your workspace by improving ergonomics and freeing up desk space. This guide on how to mount a monitor will walk you through the process step-by-step, helping you avoid common pitfalls and ensuring a secure setup.
- Start with the setup: Device model, OS, ports, power needs, and workspace change the right answer.
- Check compatibility first: Verify specifications, drivers, firmware, app support, warranty, and return policy before acting.
- Use practical steps: Change one setting or product variable at a time so you can see what.
- Know the limits: Tech advice varies by model, brand, operating system, retailer, firmware version, and official support.
How to Mount a Monitor: Step-by-Step Guide
This section outlines the essential steps to effectively mount your monitor. Following these steps will help ensure that your monitor is securely positioned and that you can enjoy a comfortable viewing experience.
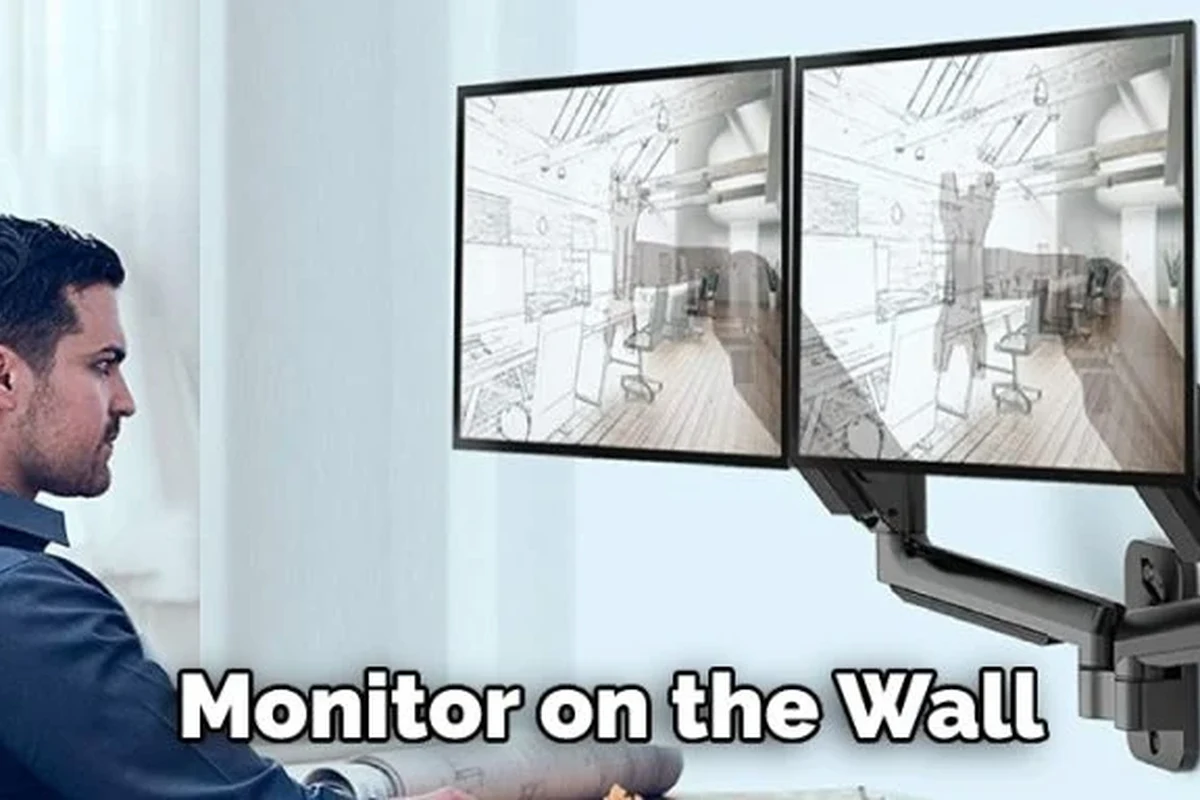
Step 1: Gather Your Tools
Before you begin, gather all the tools you’ll need for the mounting process. Having everything within reach will help you work more efficiently and reduce the chances of interruptions.
Step 2: Choose the Mounting Location
Choosing the right mounting location can greatly enhance your workspace’s functionality and appearance. Assess your wall’s structure and surrounding furniture to ensure the monitor fits well without obstructing views or creating glare from nearby windows.
Step 3: Mark the Mounting Points
Marking the mounting points accurately is essential for a secure installation. Use a level to ensure your markings are straight and consider using a stud finder to locate the best anchor points for added stability.
Step 4: Install the Mounting Bracket
Installing the mounting bracket correctly is crucial for ensuring your monitor remains stable. Follow the manufacturer’s instructions closely and use the appropriate tools to secure the bracket, reducing the risk of accidents later on.
Step 5: Attach the Monitor to the Bracket
Attaching the monitor to the bracket requires careful handling to avoid damage. Make sure all screws are tightened properly, and check the monitor’s weight distribution to confirm it’s balanced and securely mounted.
Step 6: Adjust the Angle and Height
Once mounted, adjust the monitor’s angle and height for optimal viewing comfort. This step is essential for reducing strain on your neck and eyes. For related context, you may also want to read how to install a smart lock common mistakes to avoid.
Understanding Monitor Mounting Options
There are various mounting options available, each catering to different needs and preferences. Understanding these options will help you choose the best fit for your workspace. This connects closely with how to door lock installation common mistakes avoid if you want to compare the topic in more detail.
Always ensure that the mount is secured to a stud or using heavy-duty anchors to prevent any accidents.
Tools and Equipment Needed for Monitor Mounting
Gathering the right tools and equipment is vital for a smooth mounting process. Before starting, ensure you have all necessary items like a drill, level, and screwdrivers to avoid interruptions during installation. You can also use how to remove blink camera from mount without tool as a helpful next guide on the same tech-accessories topic.
| Tool/Equipment | Purpose |
|---|---|
| Drill | To create holes for mounting screws |
| Level | To ensure the monitor is mounted straight |
| Screwdriver | To secure screws for the mount |
| Stud Finder | To locate wall studs for secure mounting |
- Stud finder
- Drill and drill bits
- Screwdriver
- Level
- Measuring tape
- Monitor mount (fixed, tiltable, or full motion)
Compatibility Checks Before Mounting Your Monitor
Before you start mounting, ensuring compatibility is crucial. This step will prevent any issues during installation and ensure that your setup will work seamlessly.
Assessing VESA Mount Compatibility
The VESA standard determines the mounting hole pattern on the back of your monitor. Confirming compatibility with your mount is essential to ensure a successful installation.
Identifying Monitor and Mount Weight Limits
Understanding the weight limits of your monitor and mounting bracket is essential for safety. Always check the specifications to prevent overloading, which could lead to damage or even cause the monitor to fall. For related context, you may also want to read how does a smart lock work setup features and daily use.
| Component | Weight Limit | Check Before Mounting |
|---|---|---|
| Monitor | Varies by model | Check the monitor specifications |
| Mount | Varies by model | Check the mount specifications |
- Use cable ties or clips to keep cables organized.
- Consider using a cable cover for a cleaner look.
- Label cables for easier identification.
Preparing Your Workspace for Monitor Mounting
Creating an organized workspace is crucial for a successful monitor mounting. This preparation will reduce stress during the installation process and improve your overall setup. This connects closely with home assistant hub common mistakes if you want to compare the topic in more detail.
Practical Steps for Mounting Your Monitor
Following a clear set of practical steps can streamline the monitor mounting process. Each step builds on the previous one, ensuring that the installation is not only effective but also secure for long-term use.
Finding the Right Height and Angle
Finding the right height and angle for your monitor can significantly enhance your comfort and productivity. Adjust the monitor so your eyes naturally align with the top third of the screen when seated, reducing neck strain.
Securing the Mount to the Wall or Desk
Securing the mount to the wall or desk is fundamental for stability and safety. Use the appropriate hardware, such as wall anchors or screws, and verify that the mount is firmly attached before placing your monitor on it. You can also use z wave hub common setup mistakes as a helpful next guide on the same tech-accessories topic.
If you encounter issues with mounting stability, consult the manufacturer’s manual or customer support for guidance.
Common Mistakes to Avoid When Mounting a Monitor
Being aware of common mistakes can prevent setbacks during your installation. Familiarize yourself with these pitfalls to ensure a secure and effective mounting process, ultimately saving you time and frustration.
Incorrect Measurements and Placement
Incorrect measurements can lead to misalignment, resulting in an unstable setup. Always measure twice and use a level to confirm your markings are accurate before proceeding with any drilling or installation.
Neglecting Cable Management
Neglecting cable management can lead to a cluttered workspace and potential hazards. Plan your cable layout in advance to keep your area tidy and ensure that cables are securely fastened and out of the way. For related context, you may also want to read how to install a smart thermostat.
This advice fits home office users needing ergonomic solutions.
Relevant for those with multiple monitors or limited desk space.
Be cautious with weight limits and mounting locations.
Safety Considerations for Monitor Mounting
Prioritizing safety is a crucial aspect of mounting your monitor correctly. Always wear protective gear, ensure tools are in good condition, and consider the environment to minimize risks during installation.
Ensuring Stability and Load-Bearing Capacity
Stability and load-bearing capacity are critical factors in selecting a monitor mount. Periodically check the mount for signs of wear or loosening to ensure it continues to support your monitor securely over time.
Using Wall Studs and Anchors Properly
Using wall studs or appropriate anchors greatly enhances the mount’s stability. Ensure you are familiar with your wall’s structure and follow the manufacturer’s guidelines for securing the mount properly. This connects closely with how long does it take to charge a nest doorbell if you want to compare the topic in more detail.
Maintenance Tips for Mounted Monitors
Regular maintenance is key to prolonging the life of your mounted monitor. Inspect the mount for damage and ensure all screws are tightened periodically to maintain a safe and stable setup.
- Check the tightness of screws and bolts periodically.
- Inspect cables for wear and damage.
- Clean the monitor and mount regularly to prevent dust buildup.
This guide on how to mount a monitor is written for general digital-information education. For specifications, compatibility, prices, availability, firmware/software versions, warranty terms, recalls, privacy settings, or safety limits, confirm details with the official manual, manufacturer page, retailer listing, warranty document, or current support notice before acting.
When to Consider Alternatives to Mounting
In some situations, traditional mounting may not be the ideal solution for your workspace. Evaluate your specific needs and consider alternatives if mounting limits flexibility or accessibility in your setup.
Using Monitor Stands vs. Wall Mounts
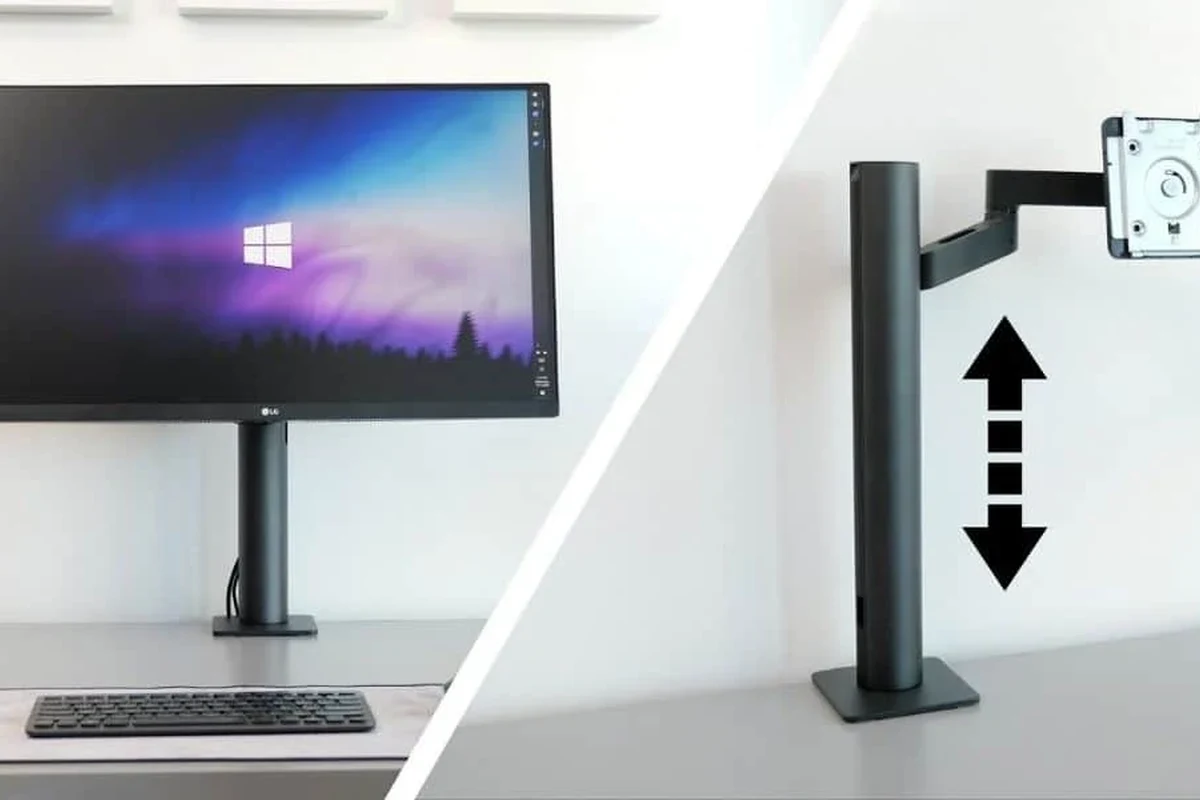
Monitor stands offer an adaptable solution, providing height adjustment and portability. Weigh the benefits of monitor stands against wall mounts based on your workspace dynamics and personal preferences for ergonomics.
Evaluating Monitor Arms for Flexibility
Evaluating monitor arms can provide enhanced flexibility and customization for your setup. These arms allow for easy adjustments and can be particularly beneficial in multi-monitor configurations for a more dynamic workspace.
Why Proper Monitor Mounting Enhances Your Workspace
Understanding how to mount a monitor is critical for enhancing your workspace efficiency. Choosing the right mount, ensuring compatibility, and following safety measures will lead to a successful installation. Always consider your specific needs and workspace layout before finalizing your choice.
Final Words
Successfully mounting a monitor can significantly improve your workspace setup. By following the outlined steps, ensuring compatibility, and being aware of common mistakes, you can create a functional and aesthetically pleasing work environment.
💡 Sufiya Begom's Setup Advice: Check VESA support, screen weight, desk thickness, eye level, cable clearance, and stability before buying or mounting any monitor accessory.
Frequently Asked Questions
Questions about Mount Monitor often depend on the exact model, connection method, software support, and daily use case. Similar products can behave differently even when they look alike or share a category name. Check current manufacturer documentation whenever compatibility, safety, privacy, firmware, or warranty details affect the answer.
Start with intended use, fit, verified specifications, safety instructions, care needs, and important limitations.
Start with the exact Mount Monitor model, connection method, compatibility requirements, and the specific result you need. Current manufacturer documentation is the safest place to confirm details that vary by model.
Check the operating system, ports or wireless standard, power requirements, app or driver support, and any ecosystem limitations that apply to the exact setup.
A common mistake is treating every Mount Monitor product or setup as interchangeable. Similar-looking models can differ in ports, software support, power needs, dimensions, or privacy controls.
Use the cleaning, ventilation, inspection, charging, storage, and update guidance that applies to the product type. Disconnect power first whenever the manufacturer instructions require it.
Stop and seek official support when the problem involves overheating, damaged power hardware, unstable mounting, repeated failures, data loss, or a privacy concern you cannot resolve safely.

Sufiya Begom is a Passionate Digital Innovator and the Visionary Founder of the Dynamic Platform, Digital Pro Info. With a deep-rooted enthusiasm for digital technologies, Sufiya has built a comprehensive space that offers valuable insights into digital products, reviews, guides, software, and sales, empowering individuals to make informed decisions in the ever-evolving digital landscape.