If you’ve ever wondered what to do with all those leftover wine corks, you’re in for a treat! Making a wine cork board is one of those DIY projects that’s simple, sustainable, and incredibly rewarding. Instead of tossing corks into a drawer or recycling bin, you can transform them into something stylish, functional, and full of personality.
What makes this project even better is that it blends creativity with practicality. A wine cork board doubles as wall art and a handy pinboard—perfect for notes, photos, or even your favorite recipe cards. Plus, it brings a touch of rustic charm to any space, whether you place it in the kitchen, home office, or cozy nook.
With today’s Pinterest-inspired home decor trends, cork boards are making a comeback as chic, eco-friendly accents. This guide will walk you step-by-step through how to make a wine cork board, complete with styling tips and image inspiration you can easily recreate—or pin for later when you’re ready to start your own project.

1. Choose Your Frame
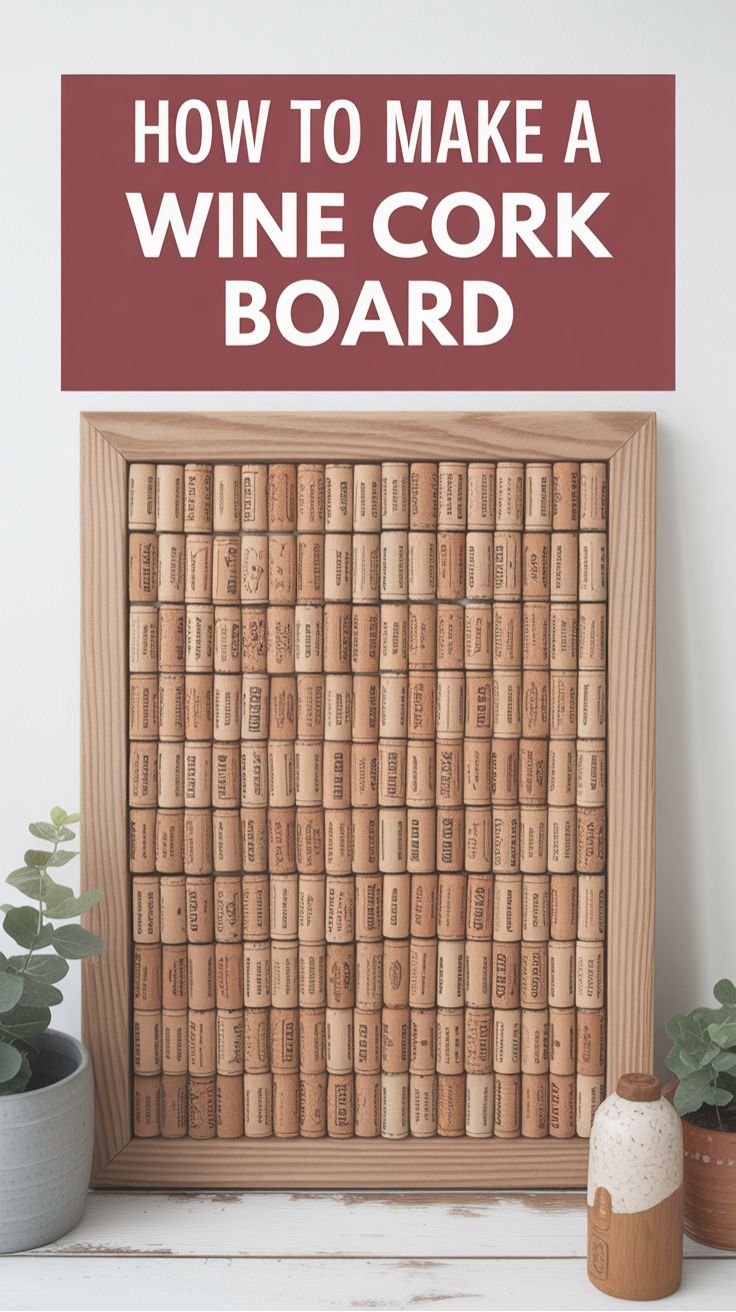
The first step in learning how to make a wine cork board is selecting the right frame. The frame sets the entire mood of your DIY project.
A rustic wooden frame instantly adds warmth and coziness, making it perfect for farmhouse or country-inspired spaces.
On the other hand, a sleek black or crisp white frame gives your cork board a modern, minimalist look that blends seamlessly with contemporary home decor. For something a little more dramatic, an ornate gold frame can add a touch of vintage charm and elegance.
The best part? You don’t need to buy anything expensive. Thrift stores, garage sales, or even old picture frames tucked away in storage can be transformed into beautiful cork board bases.
Not only is this budget-friendly, but it also supports sustainable decor choices by giving new life to something you already own.

Styling Tip: When choosing a frame, consider where you’ll display your cork board. A rustic frame works beautifully in a kitchen or cozy corner, while a modern frame is perfect for an office or study area.
2. Sort & Prep the Corks
Once your frame is ready, it’s time to prep the star of the show: the wine corks. Sorting corks by size, shade, or logo makes your board look intentional rather than random. Uniform corks create a neat, clean aesthetic, while mixing printed and plain corks adds personality and charm. If you’ve collected corks over time, you might notice variations in tone—from pale beige to deep brown—which can be used to create subtle patterns or gradients.
This step not only improves the look of your board but also makes the assembly process smoother. Think of it like organizing puzzle pieces before you start. By grouping corks into categories, you’ll save time and avoid the frustration of trying to make mismatched pieces fit at the last minute.

Styling Tip: Mix natural corks with branded or logo-printed ones to create visual interest. A mix of shades and textures will give your cork board a more curated, designer feel.
3. Plan Your Layout
Before gluing anything down, it’s smart to plan the design of your cork board. Laying out the corks ahead of time avoids last-minute gaps and ensures the finished board feels balanced and intentional. Think of it like arranging tiles—you want the flow to look harmonious from every angle.
There are many creative layout options. A classic horizontal row arrangement gives a clean, timeless look. A herringbone or chevron pattern feels modern and eye-catching, adding a little extra flair. For something playful, you can experiment with diagonal or zig-zag layouts that create movement and texture.

Styling Tip: Always dry-fit your corks first, testing different layouts before committing. If you’re working with a mix of logo-stamped corks, scatter them evenly throughout the design for a polished effect.
4. Glue & Assemble
Once you’re happy with your layout, it’s time to assemble your cork board. Using a hot glue gun or a strong craft adhesive, secure each cork into place inside the frame. Hot glue is quick and reliable, making it the most popular option, while heavy-duty craft glue works well if you prefer a little more time to adjust cork placement.
The key here is patience. Work in small sections rather than trying to glue the entire surface at once. This gives you more control and ensures each cork sits neatly in line without shifting. A well-assembled board won’t just look great—it will also stand up to everyday use for years to come.

Styling Tip: Keep a damp cloth nearby to quickly wipe away excess glue before it hardens. This small step keeps your cork board looking clean and professional.
5. Add Decorative Touches
Here’s where the fun really begins! Once your corks are secured, it’s the little extras that take your project from simple storage to real decor. Adding decorative touches gives your wine cork board personality and charm, making it a piece you’ll actually want to show off.

Styling tip: Try adding a ribbon trim around the frame for a soft, polished look. Metallic pushpins in gold, copper, or matte black instantly elevate the design. You can even stencil a word like “Cheers” or “Notes” across the top for a playful touch. These details transform your cork board from a DIY project into something worthy of your walls.
6. Style It in Your Space
Now that your wine cork board is complete, it’s time to think about placement. Where you hang it will influence how it blends into your home’s style. A cork board isn’t just about pinning notes—it’s about creating a piece that complements your room’s vibe.

Styling tip: In the kitchen, it’s perfect for recipes, shopping lists, or even showcasing your favorite wine labels. In a home bar, it doubles as a rustic conversation piece. And in a home office nook, it brings texture and warmth to an otherwise functional wall. Choose a spot where function meets charm.
7. Get Creative with Variations
Why stop at one cork board? Wine corks are so versatile that they can be repurposed into all sorts of practical yet stylish creations. This is where your imagination can run wild.

Styling tip: Use leftover corks to craft trivets for hot dishes, coasters for your coffee table, or even a mini cork board for your desk. These smaller projects are perfect as DIY gifts for friends who love wine—or for adding thoughtful handmade touches around your home.
Final Words: Your Cozy DIY Cork Board Awaits
Turning leftover wine corks into a cork board is more than just a DIY project—it’s a way to blend creativity, sustainability, and style into your home.
With just a handful of supplies and a bit of planning, you can create a board that’s not only functional but also doubles as wall decor.
From choosing the right frame to experimenting with layouts and adding decorative touches, every step helps your board feel personalized and unique. And once it’s styled in your space—whether in the kitchen, home bar, or office nook—it becomes more than just storage. It becomes part of your home’s story.
So, the next time you pop open a bottle of wine, think of it as collecting another piece for your next project. With a little creativity, even the simplest cork can find a second life in a cozy, stylish, and Pinterest-worthy display.
Pro Tip: Don’t forget to snap a photo of your finished cork board and share it with friends—or pin it for inspiration later. Who knows? You might just inspire someone else to start their own collection of corks and memories.

Sufiya Begom is a Passionate Digital Innovator and the Visionary Founder of the Dynamic Platform, Digital Pro Info. With a deep-rooted enthusiasm for digital technologies, Sufiya has built a comprehensive space that offers valuable insights into digital products, reviews, guides, software, and sales, empowering individuals to make informed decisions in the ever-evolving digital landscape.